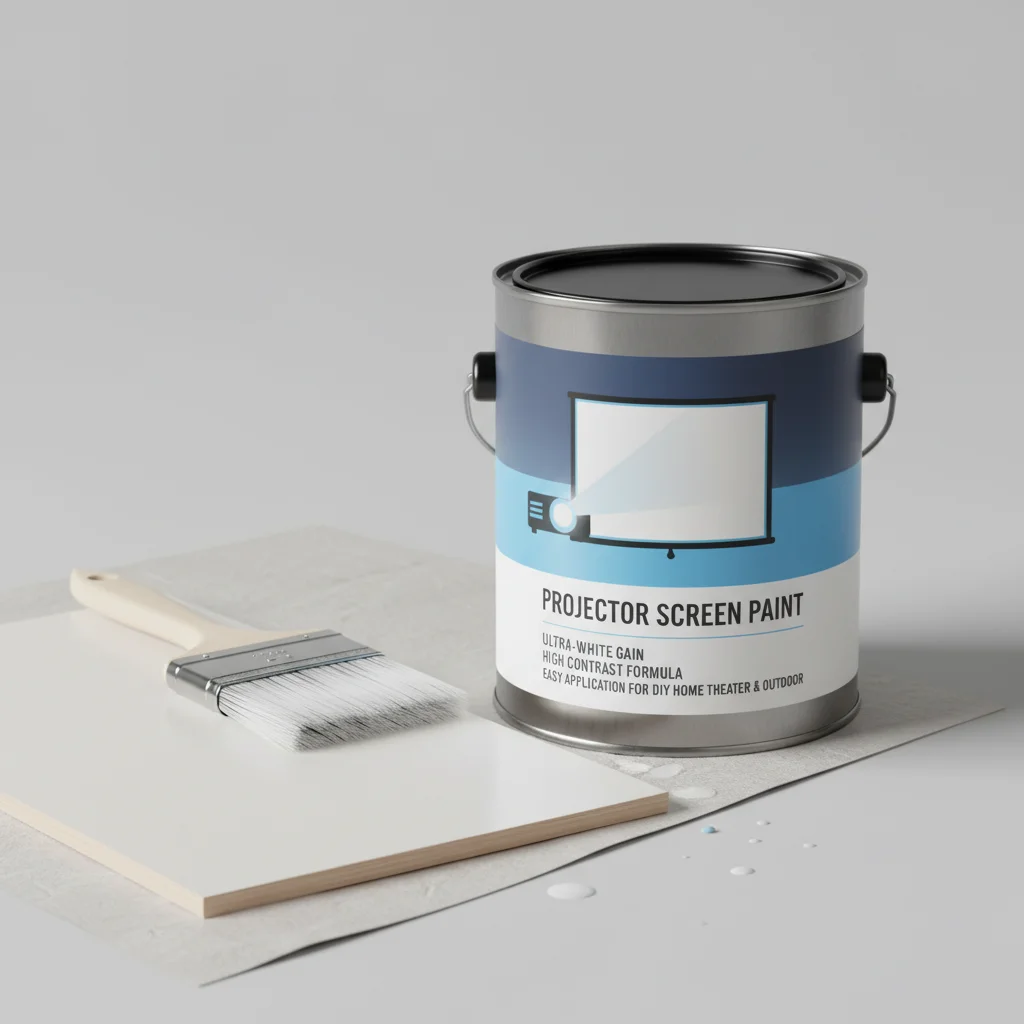
Projector screen paint is a viable and cost-effective alternative to traditional projector screens, offering a smooth, seamless surface for home theaters. While it may not always match the optical performance of high-end dedicated screens, it provides a flexible solution, especially for large installations or unique room layouts. There are three main types: white matte, grey high-contrast, and specialized silver/metallic options for 3D or ambient light rejection.
Choosing the right projector screen paint involves considering several factors, including your projector’s lumen output, the ambient light in your viewing area, and the desired image quality. For instance, a bright room might benefit from a grey high-contrast paint to improve black levels, whereas a dark, dedicated home theater could achieve excellent results with a standard white matte finish. The application process is crucial for a smooth, uniform surface, which directly impacts the projected image’s clarity and color accuracy. For see our projector screens recommendations on this site.
Understanding Different Types of Projector Screen Paint
The market offers a variety of projector screen paints, each designed to address specific viewing conditions and projector types. White matte paint is the most common and generally suitable for dark rooms with good light control. It provides neutral color reproduction and a wide viewing angle. Grey high-contrast paints are formulated with a lower gain and a darker base to absorb ambient light, enhancing black levels and overall contrast in rooms with some light.
Beyond these, specialized paints exist, such as those with reflective particles for 3D projection or formulations designed to reject ambient light from specific angles. These advanced paints often come with a higher price tag but can significantly improve image quality in challenging environments. Always check the manufacturer’s specifications for recommended projector types and optimal viewing conditions.
Application Techniques for a Flawless Finish
Achieving a professional-looking projector screen with paint requires careful preparation and application. The surface must be perfectly smooth, clean, and primed. Any imperfections will be magnified by the projector’s light. It’s recommended to use a high-quality, fine-nap roller or a paint sprayer for the most uniform application. Multiple thin coats are always better than one thick coat to prevent streaks and uneven textures.
Masking off the projection area precisely is also critical to create sharp, defined edges. Consider using painter’s tape designed for delicate surfaces to avoid damaging your walls. Allow adequate drying time between coats as specified by the paint manufacturer. Proper ventilation is also important during the painting process.
- Prepare the surface thoroughly by cleaning and sanding.
- Apply a high-quality primer for optimal adhesion.
- Use a fine-nap roller or sprayer for even coats.
- Apply multiple thin layers, allowing drying time between each.
- Mask off the projection area precisely for clean edges.
Comparing Paint to Traditional Screens: Pros and Cons
|
Our Picks for the Best Projector Screen in 2026
As an Amazon Associate I earn from qualifying purchases.
|
||
| Num | Product | Action |
|---|---|---|
| 1 | TOWOND Projector Screen and Stand, 150 inch Indoor Outdoor Projection Screen, Portable 16:9 4K HD Rear Front Movie Screen with Carry Bag Wrinkle-Free Design for Home Theater Backyard Cinema |

|
| 2 | 120 inch Projector Screen 2025 Upgraded- Black Backing, Straight Edges, Foldable, Washable and Wrinkle-Free - for Indoor Home Theater and Outdoor Cinema -White 16:9 by IOLIEO |
|
| 3 | TOWOND Projector Screen with Stand, 100 inch Outdoor Projector Screen Portable Indoor Projection Screen 16:9 4K Rear Front Movie Screen with Carry Bag for Home Backyard Theater 100 inch |
|
| 4 | AAJK Projector Screen 150 inch, Washable Projector Screen 16:9 Foldable Anti-Crease Portable Projector Movies Screen for Home Theater Outdoor Indoor Support Double Sided Projection |
|
| 5 | Pyle 50 Inch Portable Projector Screen with Tripod Stand – Lightweight, Durable, Easy Pull Setup Mobile Projection Screen with 4:3 Aspect Ratio, White Matte Fabric for Indoor/Outdoor Use |
|
| 6 | 120inch Outdoor Projector Screen with Stand: 16:9 4K HD Portable Projector Screen Outdoor Indoor - Front/Rear Movie Screen with Carry Bag, Sandbag - Projection Screen for Backyard, Camping, Theater |
|
| 7 | Taotique Projector Screen 72 inch, Movie Projector Screen 16:9 HD Foldable and Portable Anti-Crease Indoor Outdoor Projection Double Sided Video Projector Screen for Home, Party, Office, Classroom |
|
| 8 | TOWOND Outdoor Projector Screen with stand, 120 inch Portable Movie Screen - 16:9 4K HD Foldable Anti-Crease Projection Screen with Carry Bag for Movie Nights, Camping and Parties Support Double Sided |
|
| 9 | Projector Screen,HUANYINGBJB 4K 16:9 HD Rear Front Projector Screen Foldable Projection Screen Double-Sided Portable Outdoor Indoor Projector Screens for Movie Home Theater (120) |
|
| 10 | Outdoor Projector Screen with Stand - 120 Inch Portable Projector Screen Indoor and Outdoor Projector Screens 16:9 4K HD Wrinkle Free Lightweight Movie Screen with Carry Bag,Enioy Movie Nights |
|
When deciding between projector screen paint and a traditional screen, it’s essential to weigh the advantages and disadvantages of each. Paint offers unparalleled flexibility in size and shape, making it ideal for custom installations or very large displays where a physical screen might be impractical or prohibitively expensive. It also provides a seamless look, integrating directly into your room’s decor without visible frames or mounting hardware.
However, traditional screens, especially high-end models, often boast superior optical properties like specific gain levels, ambient light rejection (ALR) capabilities, and precise color calibration that paint may struggle to replicate. They are also easier to move or replace. The durability of paint can also be a concern, as it’s susceptible to scuffs and damage over time, unlike some robust screen materials.
Cost-Effectiveness and Long-Term Value
One of the most compelling arguments for projector screen paint is its cost-effectiveness. For a fraction of the price of a large, dedicated projector screen, you can create a substantial viewing area. This makes it an attractive option for budget-conscious consumers or those looking to experiment with a home theater setup without a significant initial investment. The long-term value, however, depends on your expectations for image quality and your willingness to maintain the painted surface.
While the initial outlay is lower, repainting might be necessary over time due to wear and tear or if you decide to upgrade your projector and need a different paint formulation. Traditional screens, while more expensive upfront, often offer greater durability and consistent performance over many years without requiring reapplication.
When Projector Screen Paint is the Right Choice
Projector screen paint is an excellent choice for specific scenarios. If you need a very large screen that would be too costly or difficult to install with a physical screen, paint offers a perfect solution. It’s also ideal for custom shapes or integrating the screen seamlessly into a wall without any visible frame. For renters, it can be a temporary and easily reversible option compared to mounting a permanent screen. Finally, for those on a tight budget who still want a dedicated projection surface, paint provides a significant upgrade over a plain white wall, offering improved brightness and contrast. Consider your room’s lighting, projector’s capabilities, and your budget to determine if paint is the best fit for your home theater needs.
Frequently Asked Questions
What are the main types of projector screen paint available?
There are three main types of projector screen paint: white matte, grey high-contrast, and specialized silver/metallic options. White matte is best for dark rooms, while grey high-contrast improves black levels in rooms with some ambient light.
How does projector screen paint compare to traditional screens?
Projector screen paint offers flexibility in size and shape, and is more cost-effective for large installations. However, traditional screens often provide superior optical properties like specific gain levels and ambient light rejection (ALR) capabilities that paint may struggle to replicate.
What factors should I consider when choosing projector screen paint?
When choosing projector screen paint, consider your projector's lumen output, the amount of ambient light in your viewing area, and your desired image quality. For example, a bright room benefits from grey high-contrast paint, while a dark room can use white matte.
Is projector screen paint a good option for renters?
Yes, projector screen paint can be an excellent temporary and easily reversible option for renters. It allows for a dedicated projection surface without the need for mounting a permanent screen, which can be a significant advantage.
What are the key steps for applying projector screen paint for a flawless finish?
To achieve a flawless finish, first prepare the surface by cleaning and sanding, then apply a high-quality primer. Use a fine-nap roller or sprayer for even coats, applying multiple thin layers and allowing adequate drying time between each. Finally, mask off the projection area precisely for clean edges.
How to Apply Projector Screen Paint for a Flawless Finish
Achieving a professional-looking projector screen with paint requires careful preparation and application to ensure a smooth, uniform surface and optimal image quality.
Thoroughly clean and sand the wall surface to ensure it is perfectly smooth and free of imperfections. Any bumps or debris will be magnified by the projector's light, affecting the final image clarity.
Apply a high-quality primer to the prepared surface. This step is crucial for optimal adhesion of the projector screen paint and helps create a uniform base for the subsequent coats.
Use a fine-nap roller or a paint sprayer for the most uniform application of the projector screen paint. Apply multiple thin coats rather than one thick coat to prevent streaks, uneven textures, and ensure consistent coverage.
Allow adequate drying time between each coat as specified by the paint manufacturer. Proper ventilation is also important during the painting process to facilitate drying and ensure a smooth finish.
Precisely mask off the projection area using painter's tape designed for delicate surfaces. This critical step creates sharp, defined edges for your screen and prevents paint from bleeding onto surrounding walls.
Get our weekly buyer guide
Practical specs, not advice. Unsubscribe anytime.

I tried the specialized silver paint for 3D viewing, and while it did enhance the 3D effect, I found the overall brightness to be a bit dim for regular movies. My projector isn’t super high-end, so maybe that’s part of it. The application process was a bit trickier than I expected to get a perfectly smooth finish. It’s okay, but I might go back to a traditional screen.
We have a really unique room layout that made a traditional screen impossible. The projector screen paint was the perfect flexible solution. We went with a white matte for our dark basement theater, and the image quality is stunning. It truly feels like a seamless part of the wall. Highly recommend for anyone with tricky spaces.
This paint is a game-changer for my outdoor movie setup. I used a white matte finish on a large plywood board, and it looks surprisingly good. My projector has a high lumen output, so it really pops. It’s not quite as sharp as my indoor dedicated screen, but for the price and flexibility, you can’t beat it. Perfect for summer backyard cinema.
I was skeptical about projector screen paint, but after reading about the different types, I decided to try the grey high-contrast for my living room. We have a fair bit of ambient light, and it really made a difference in the black levels. The application was straightforward, and the results are fantastic for movie nights. Definitely a cost-effective solution!