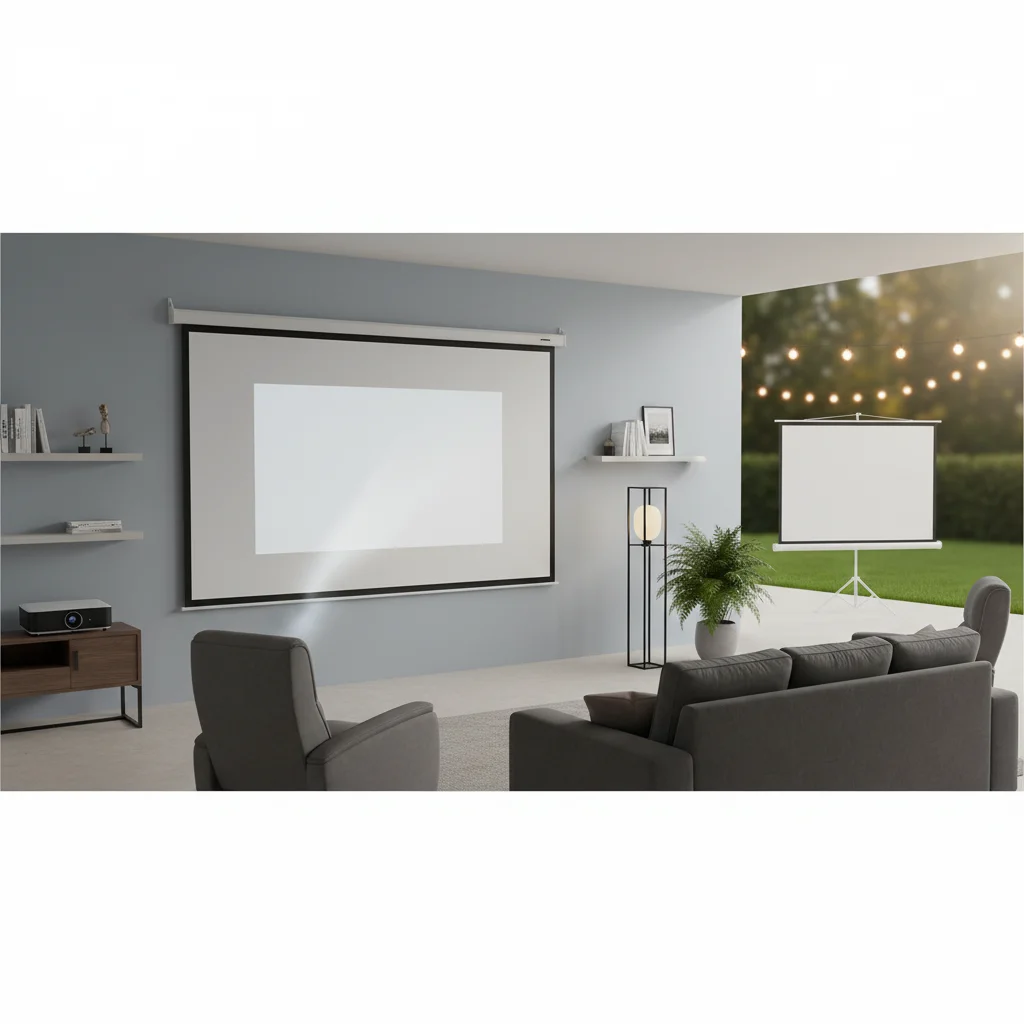
Optimal projector screen placement is crucial for achieving the best viewing experience, and it typically involves considering three key factors: throw distance, viewing angles, and ambient light. By carefully evaluating these elements, you can ensure your screen delivers a vibrant and immersive picture. There are generally five common positions to consider for your projector screen, each with its own advantages and considerations.
Understanding Throw Distance and Screen Size
Throw distance is the measurement from your projector lens to the screen. This distance directly impacts the size of the image projected. Most projectors have a specified throw ratio, which helps determine the ideal screen size for a given distance. For instance, a projector with a 1.5:1 throw ratio will project a 100-inch image from 150 inches away. Incorrect throw distance can lead to blurry images, keystone distortion, or an image that doesn’t fit your screen. Always consult your projector’s manual for its specific throw ratio and recommended distances.
Conversely, the screen size you choose will also dictate your projector’s placement. A larger screen will require a longer throw distance (or a short-throw projector) to fill it properly. It’s a symbiotic relationship where both components need to be aligned for optimal performance. Consider the dimensions of your room and the maximum screen size it can comfortably accommodate without overwhelming the space or making viewing uncomfortable.
Optimizing Viewing Angles for Comfort
Viewing angles refer to the range of positions from which viewers can comfortably see the screen without significant degradation in image quality. Ideally, the center of your screen should be at eye level when seated, or slightly below. This minimizes neck strain and ensures that everyone in the room has a clear line of sight. For most home theater setups, a viewing angle of no more than 30-40 degrees off-center is recommended to maintain color accuracy and brightness.
The type of screen material also plays a role in viewing angles. Some screens, particularly those with high gain or ALR (Ambient Light Rejecting) properties, have narrower optimal viewing cones. This means that viewers sitting too far to the side might experience a dimmer or less vibrant image. If you frequently have a large audience, a screen with a wider viewing angle is preferable.
Minimizing the Impact of Ambient Light
|
Our Picks for the Best Projector Screen in 2026
As an Amazon Associate I earn from qualifying purchases.
|
||
| Num | Product | Action |
|---|---|---|
| 1 | 120 inch Projector Screen 2025 Upgraded- Black Backing, Straight Edges, Foldable, Washable and Wrinkle-Free - for Indoor Home Theater and Outdoor Cinema -White 16:9 by IOLIEO |

|
| 2 | AAJK Projector Screen 150 inch, Washable Projector Screen 16:9 Foldable Anti-Crease Portable Projector Movies Screen for Home Theater Outdoor Indoor Support Double Sided Projection |
|
| 3 | Taotique Projector Screen 72 inch, Movie Projector Screen 16:9 HD Foldable and Portable Anti-Crease Indoor Outdoor Projection Double Sided Video Projector Screen for Home, Party, Office, Classroom |
|
| 4 | TOWOND Projector Screen with Stand, 100 inch Outdoor Projector Screen Portable Indoor Projection Screen 16:9 4K Rear Front Movie Screen with Carry Bag for Home Backyard Theater 100 inch |
|
| 5 | Pyle 50 Inch Portable Projector Screen with Tripod Stand – Lightweight, Durable, Easy Pull Setup Mobile Projection Screen with 4:3 Aspect Ratio, White Matte Fabric for Indoor/Outdoor Use |
|
| 6 | TOWOND Outdoor Projector Screen with stand, 120 inch Portable Movie Screen - 16:9 4K HD Foldable Anti-Crease Projection Screen with Carry Bag for Movie Nights, Camping and Parties Support Double Sided |
|
| 7 | 120inch Outdoor Projector Screen with Stand: 16:9 4K HD Portable Projector Screen Outdoor Indoor - Front/Rear Movie Screen with Carry Bag, Sandbag - Projection Screen for Backyard, Camping, Theater |
|
| 8 | Projector Screen,HUANYINGBJB 4K 16:9 HD Rear Front Projector Screen Foldable Projection Screen Double-Sided Portable Outdoor Indoor Projector Screens for Movie Home Theater (120) |
|
| 9 | TOWOND Projector Screen and Stand, 150 inch Indoor Outdoor Projection Screen, Portable 16:9 4K HD Rear Front Movie Screen with Carry Bag Wrinkle-Free Design for Home Theater Backyard Cinema |
|
| 10 | Outdoor Projector Screen with Stand - 120 Inch Portable Projector Screen Indoor and Outdoor Projector Screens 16:9 4K HD Wrinkle Free Lightweight Movie Screen with Carry Bag,Enioy Movie Nights |
|
Ambient light, such as natural sunlight from windows or artificial light from lamps, can significantly wash out a projected image. The best projector screen placement minimizes direct exposure to these light sources. Positioning your screen on a wall opposite a window, or using blackout curtains, can dramatically improve contrast and color saturation. For rooms with unavoidable ambient light, an ALR screen is highly recommended as it’s designed to reflect light from the projector while absorbing light from other directions.
Even subtle light sources can impact image quality. Consider the placement of overhead lights and lamps in relation to your screen. Dimmable lighting can be a great asset, allowing you to control the environment for optimal viewing. Experiment with different light levels to find the perfect balance for your setup.
Common Projector Screen Placement Options
- Wall-Mounted: The most common and permanent solution, offering stability and a clean aesthetic.
- Ceiling-Mounted (Motorized/Fixed): Ideal for dedicated home theaters, allowing the screen to retract when not in use.
- Portable/Freestanding: Offers flexibility for outdoor use or temporary setups, but may lack stability.
- In-Cabinet/Recessed: A discreet option that hides the screen when not in use, perfect for multi-purpose rooms.
- Short-Throw Specific: Requires the screen to be very close to the projector, often mounted on the same wall or a dedicated stand.
Final Considerations for Your Setup
Before finalizing your projector screen placement, take into account the overall room acoustics and speaker placement. You don’t want the screen to obstruct your sound system, nor do you want reflections off the screen to negatively impact audio quality. Plan your cable management early to avoid unsightly wires and potential tripping hazards. A well-thought-out setup not only looks better but also enhances the overall user experience.
Remember that a little planning goes a long way. Don’t rush the installation process. Take measurements, test different positions, and consider how the screen will integrate with your existing furniture and decor. The goal is to create a cohesive and enjoyable viewing environment that you’ll love for years to come.For those seeking a versatile option, consider a high-quality portable screen that can be easily moved and set up in various locations.
Get our weekly buyer guide
Practical specs, not advice. Unsubscribe anytime.
